i heart bleach stains and tutorials!
Category: DIY | January 21st, 2010ready for valentine’s day! haha. i am not the one to plan early, but this worked out nicely.
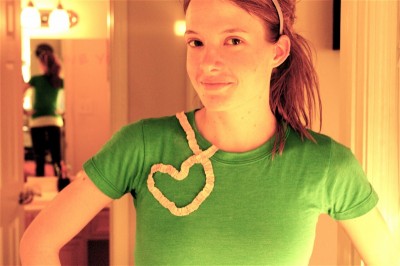
we all have those shirts where something happens to them, but you feel bad for throwing them away. well i do at least. that’s why i still have stuff from high school (that i still can wear thank you!…don’t hate beth) :) this is one of the most comfortable shirts i own and i was not about to throw it away…even with this lovely lil bleach stain on the neck.
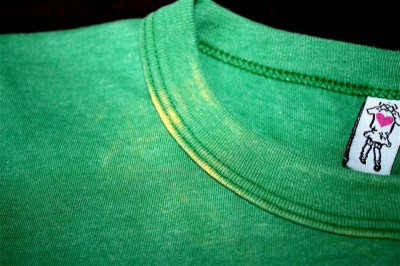
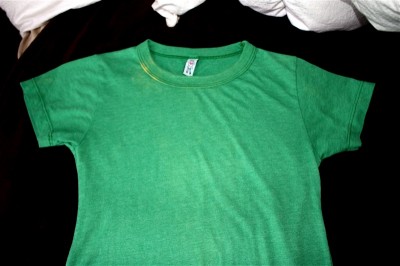
you might just think it’s a plain jane tee, but it’s green! and fitting and jersey material. wanted to keep it simple yet still cute. so here’s how i did it!
step 1: grab your shirt (or skirt, pants, dress, etc.) that you want to “cover up” and some fun fabric you have laying around. you don’t need much.
step 2: cut strips of fabric out (i used one long one because of the available amount i had) for this project i cut 1 1/2 inch strips. if you want bigger ruffles then cut wider strips. i had a total of about 30 inches worth (but depends on what you want to do for the design)
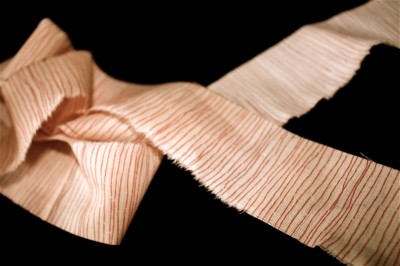
step 3: fold the strip(s) in half long ways…or hot dog style..and with right sides together! (i sewed with a 1/4 inch inseam)
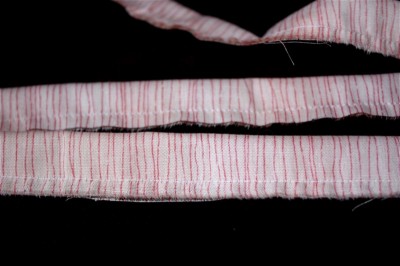
step 4: these pieces will be inside out so (patiently..unless you are a pro) turn them right side out. i used the good ole safety pin trick and that worked perfectly. the smaller the strips the harder it can be. but you can do it! i also ironed my strip down a little bit so the seam was in the middle.
step 5: with a machine, run a basting (longest length) stitch through the middle of the strip but be sure not to reverse at the beginning and end…we don’t want that to be a permanent stitch. you can also do this by hand with a needle and thread with loose stitches down the middle
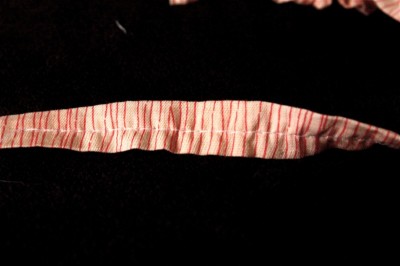
step 6: then take one of the threads at one of the ends of the strip and pull! this is the fun part of gathering. decide how ruffly you want it. the more ruffles you want the more you pull. i chose to keep it down on the ruffles on this shirt.
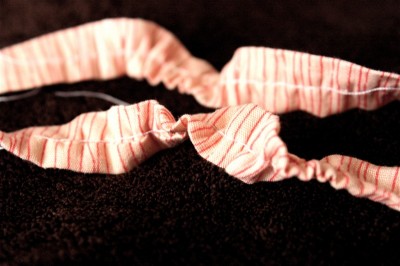
step 7: now it’s pinning time. figure out your design idea and just start playing. i was concentrating so hard i almost forgot to cover up the bleach stain. ha
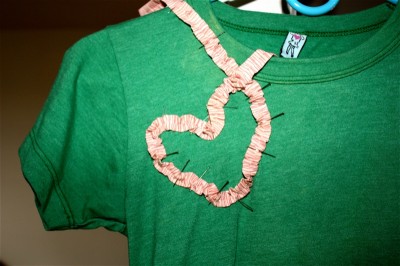
i tend to get pin happy.
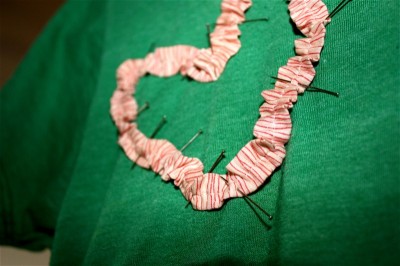
step 8: moving on to the lovely sewing machine. sew on your art. this time make sure to do the reversing at the beginning and end. the ruffles might move around when sewing so pay attention, unless you are cool with going with the flow :)
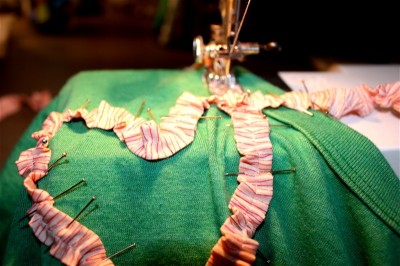
step 9: snip off all the loose threads and then admire. :)

step 10: had some leftover and added some heart buddies on the back.
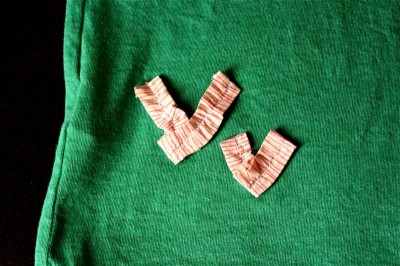
can’t have too many hearts
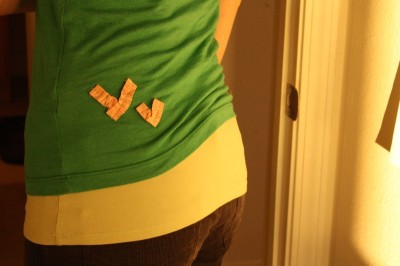
leave it to my hubby to get a butt shot. ha
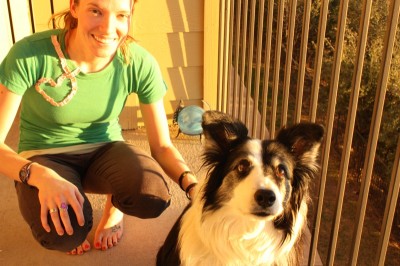
molly wanted in on some of the action too. :)
feel free to ask any questions or thoughts or ideas, etc. love to hear from y’all! now…if only cedar would go away and i can breathe through my nose again. that would be oh so lovely.
peace and love
xox