elastic waistband with casing tutorial
Category: DIY | April 26th, 2010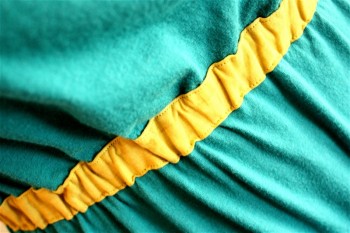
experimenting with sewing projects is fun and a little frustrating. haha. but this one turned out nicely! here’s my attempt to show you :)
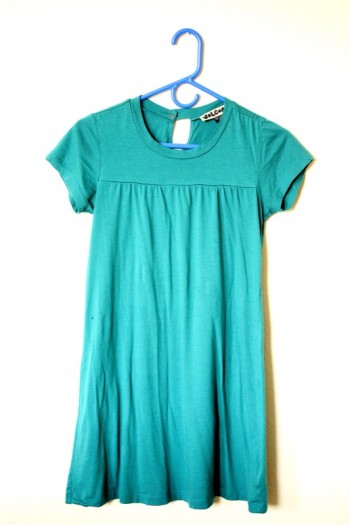
pretty sure this is meant to be a dress…but it’s a shirt on me. there’s no waistband and i normally wear belts with it but i wanted to change it up. so i added a waistband with a casing!
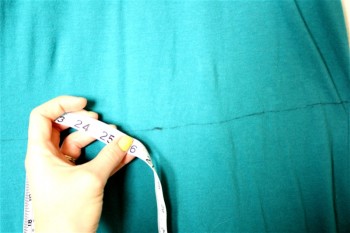
*mark where you want the waistband on the dress (doesn’t have to be pretty since you are going to cover it up)…measure and add 1 inch for seam allowance.
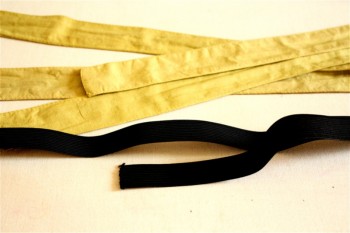
* cut out your casing fabric to match the measurement. (i used the leftover fabric from the dress that i turned into a skirt)
* make sure the casing is wider than the elastic you are going to use (about 3/4 inch wider than the elastic).
* then measure your waist…add 1 inch for seam allowance and then cut elastic to match. (make sure it is snug enough but not too tight)
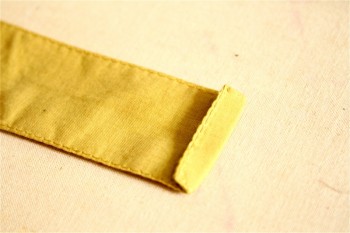
* fold over 1/4 inch on both sides of the casing and iron
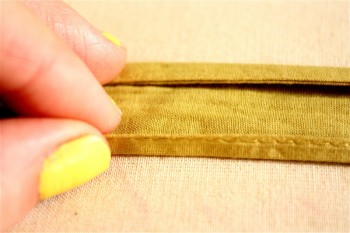
* then fold over both edges 1/4 inch and iron. (make sure there is enough room for the elastic to ease its way through).
* sew the two ends together (right sides of fabric together) with 1/4 inch seam allowance (i didn’t do this part because i didn’t have enough fabric so i just hand stitched them together after i sewed them on) oops..lol.
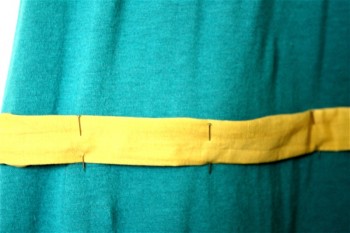
* pin the casing to the marking you made on the dress.
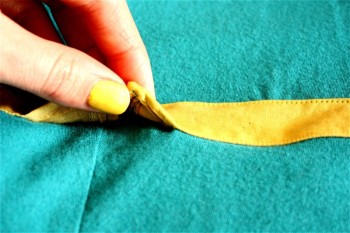
* sew down one edge of the casing all the way around (really close to the edge) back stitching the beginning and end.
* and then sew down the other edge (really close to the edge) but leave about 2-3 inches open in order to put the elastic through.
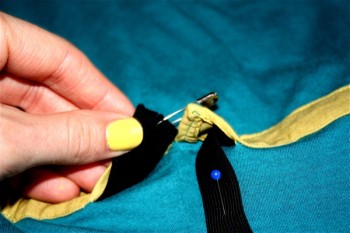
* pin down one end of the elastic to the dress and attach a safety pin to the other.
* use the safety pin to pull the elastic through the whole casing!
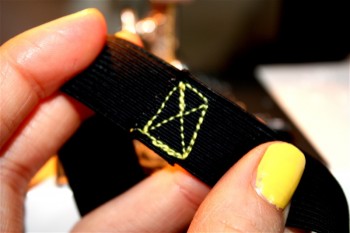
* sew the elastic together. i overlapped 1/2 inch and did a square and x method or you can do several stitches of zigzag as well.
* (forgot to take a pic) but i sewed the remainder of the casing closed (back stitching at the beginning and end)..make sure you stretch out the casing fabric (since there is elastic in now) in order to sew the fabric without puckering (make sure you do not sew the elastic to the fabric!!!!).
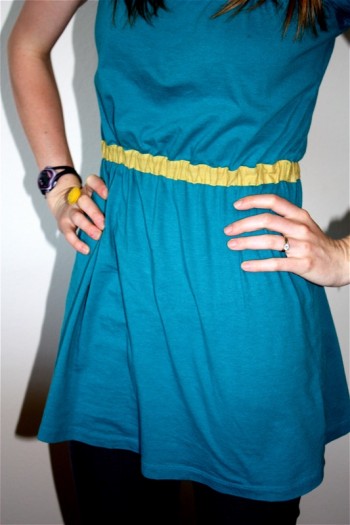
yay! new shirt/dress. :) you can do this to anything…shirts, dresses, skirts, jackets…etc.

now i don’t have to wear a belt with this outfit. it has a permanent one!
peace and love
xox