5/52
Category: 52 project | February 9th, 2014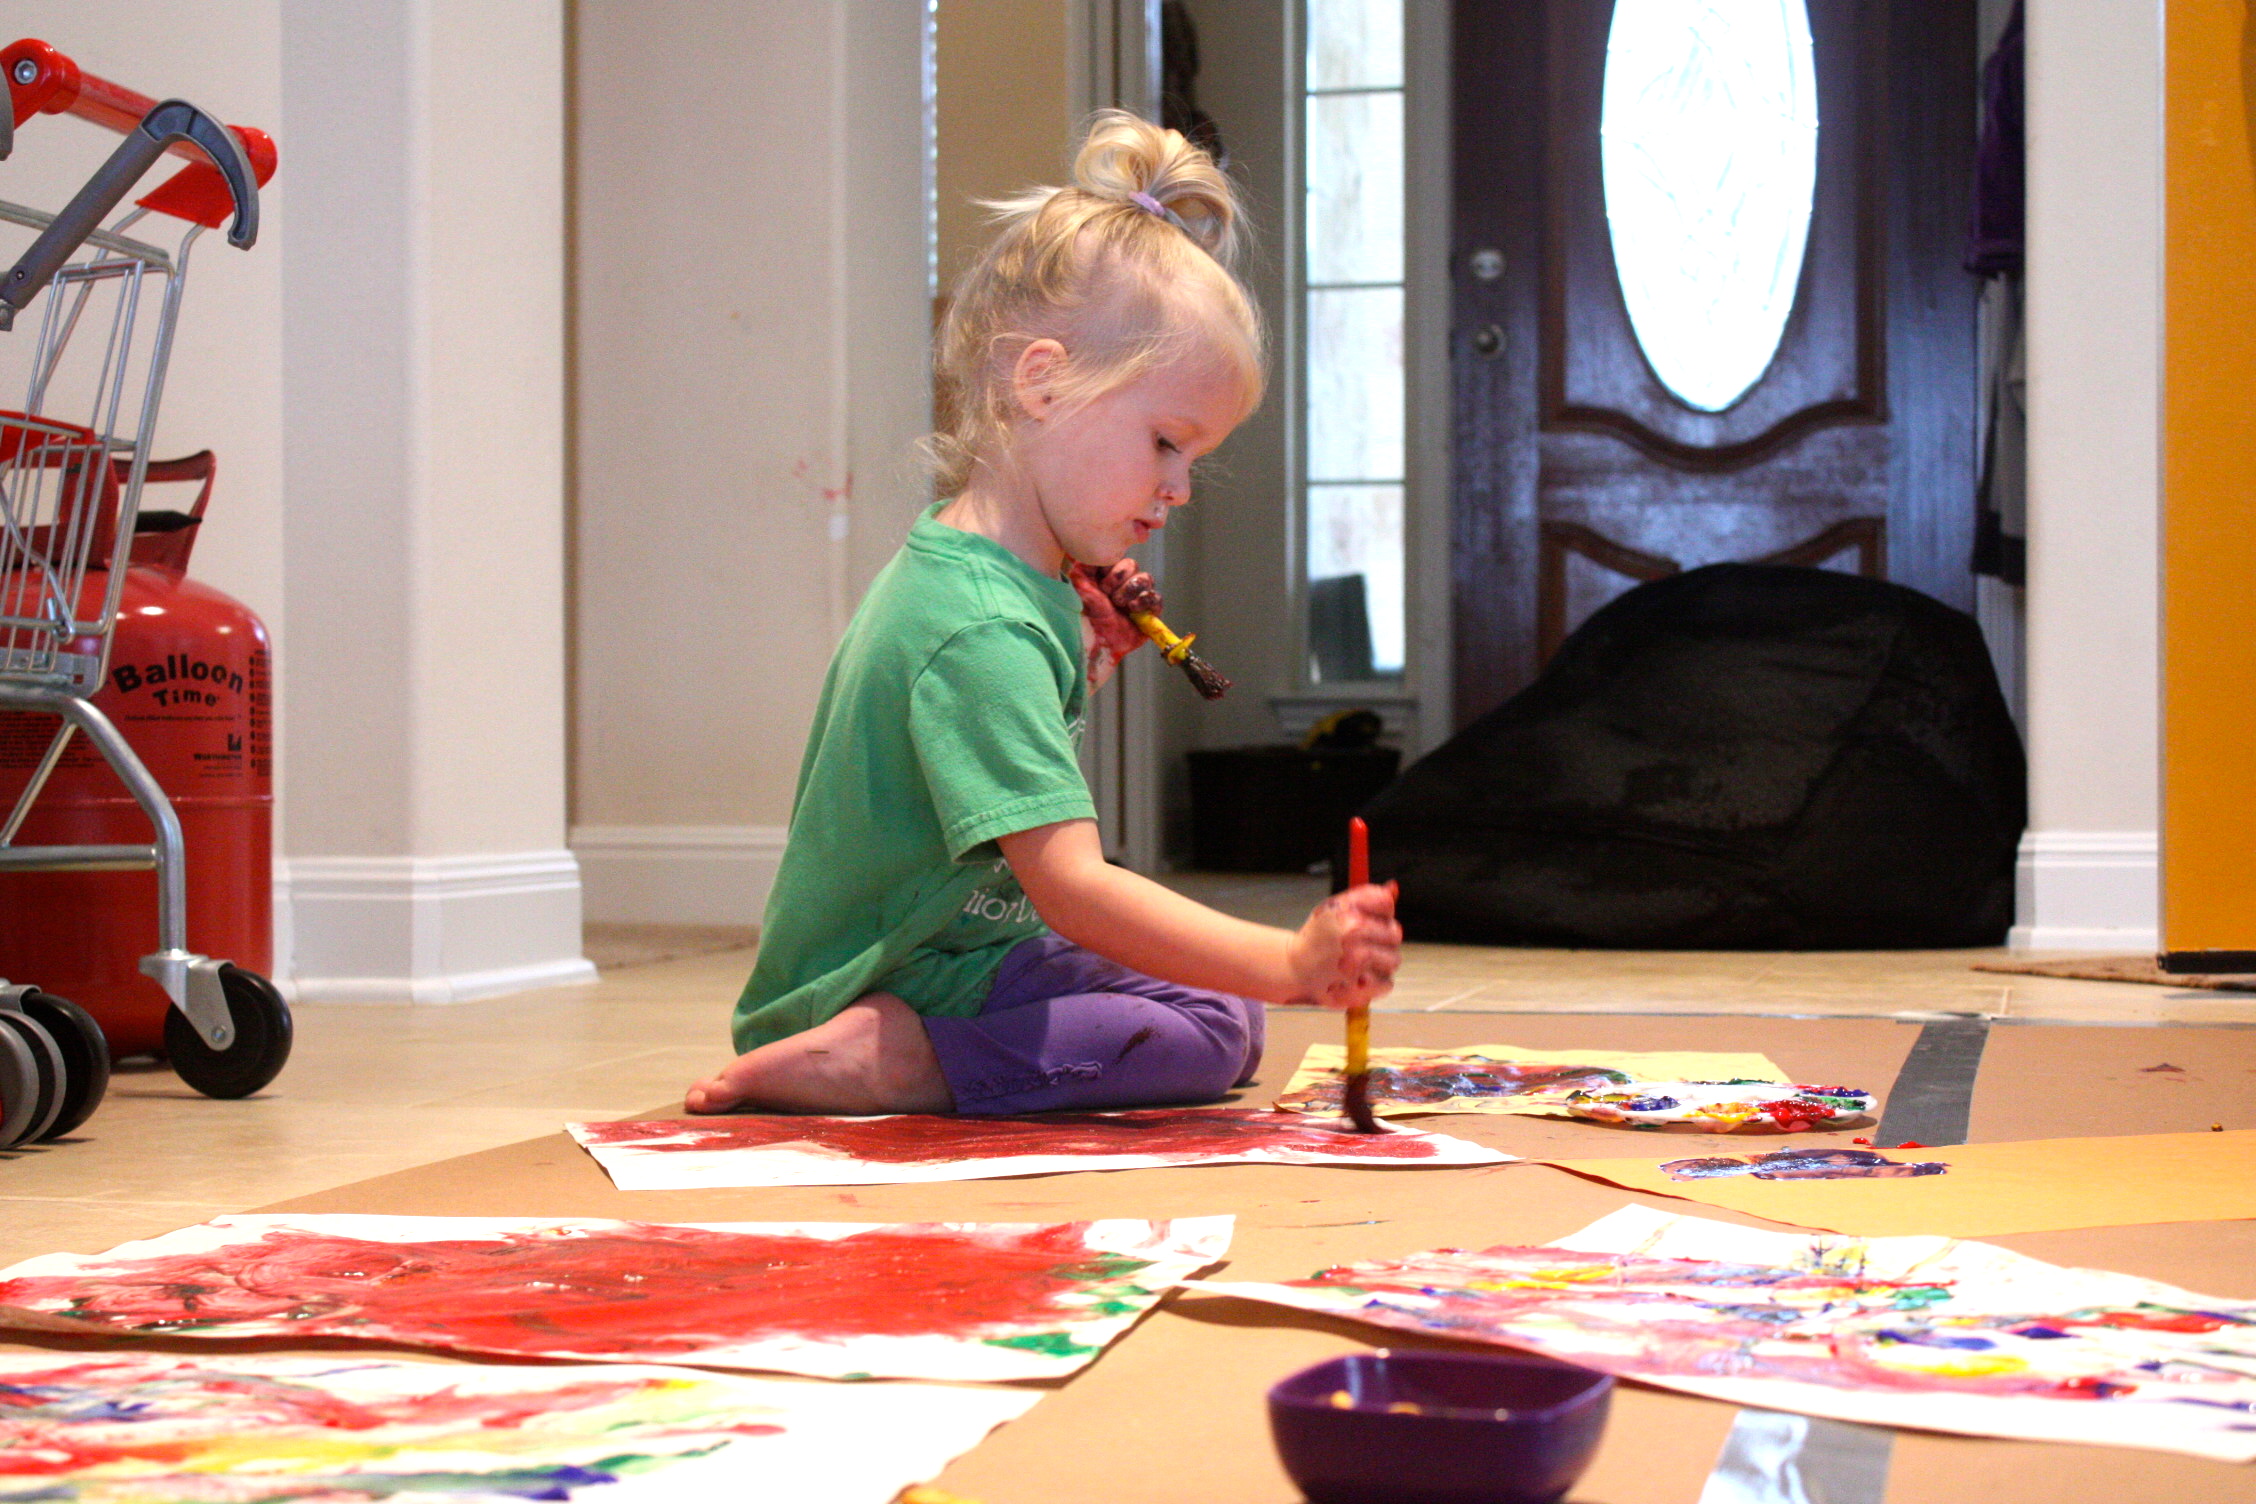
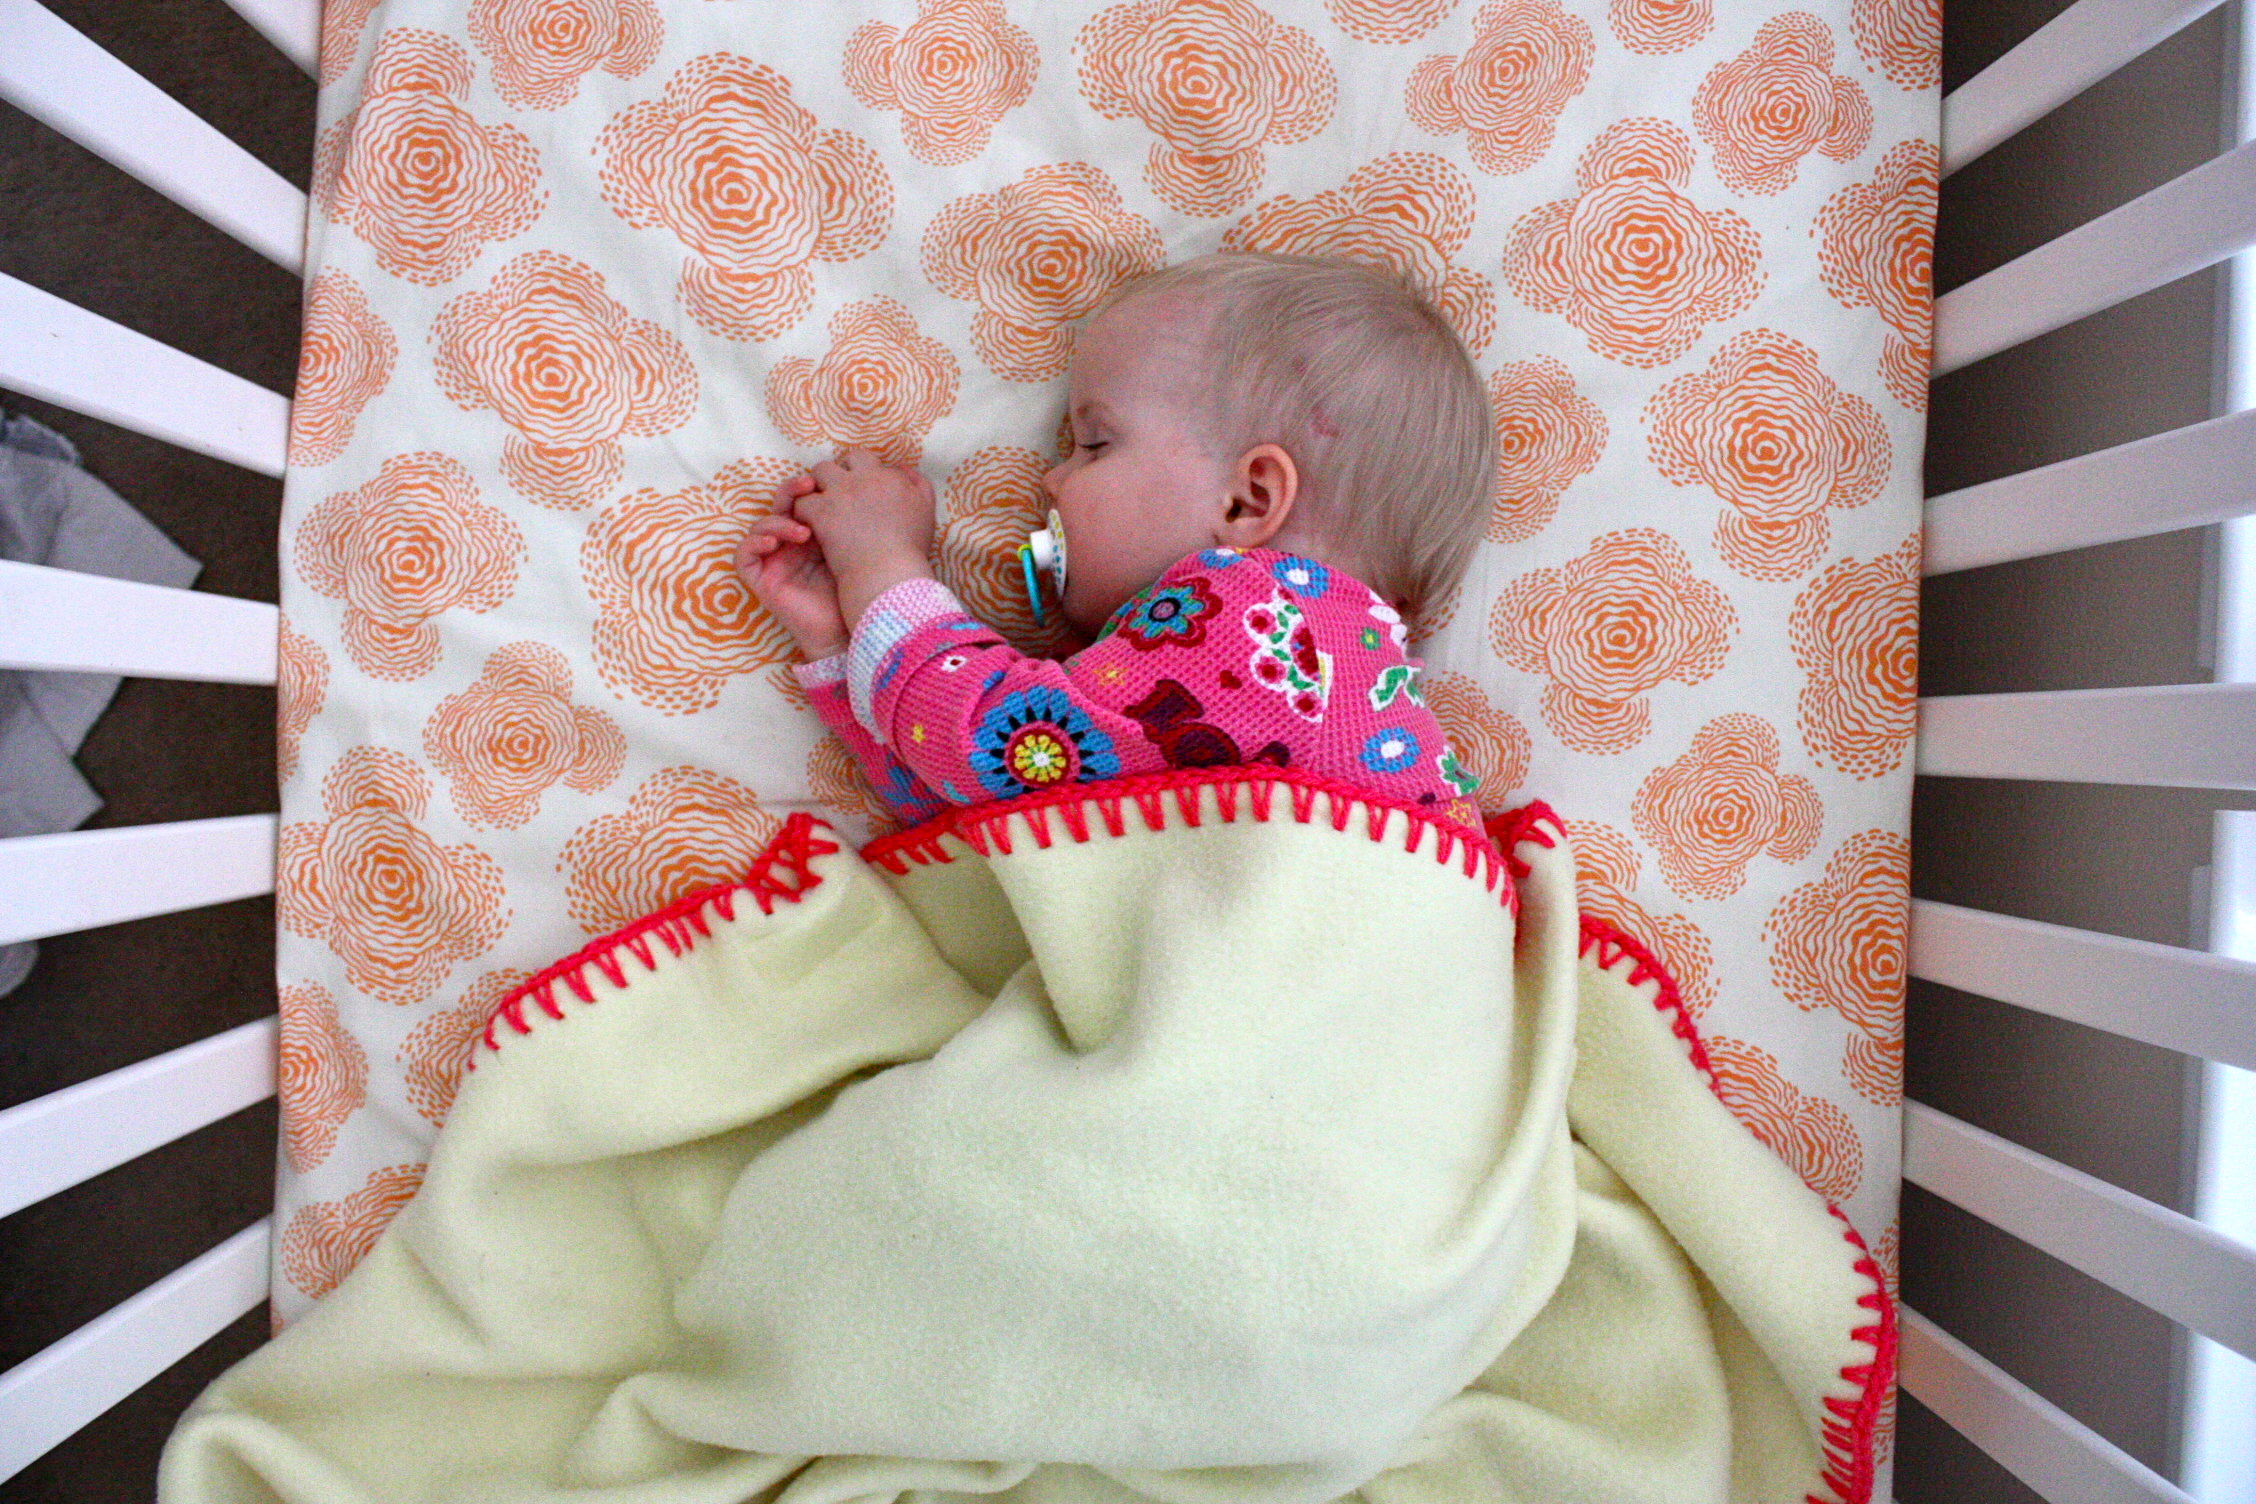
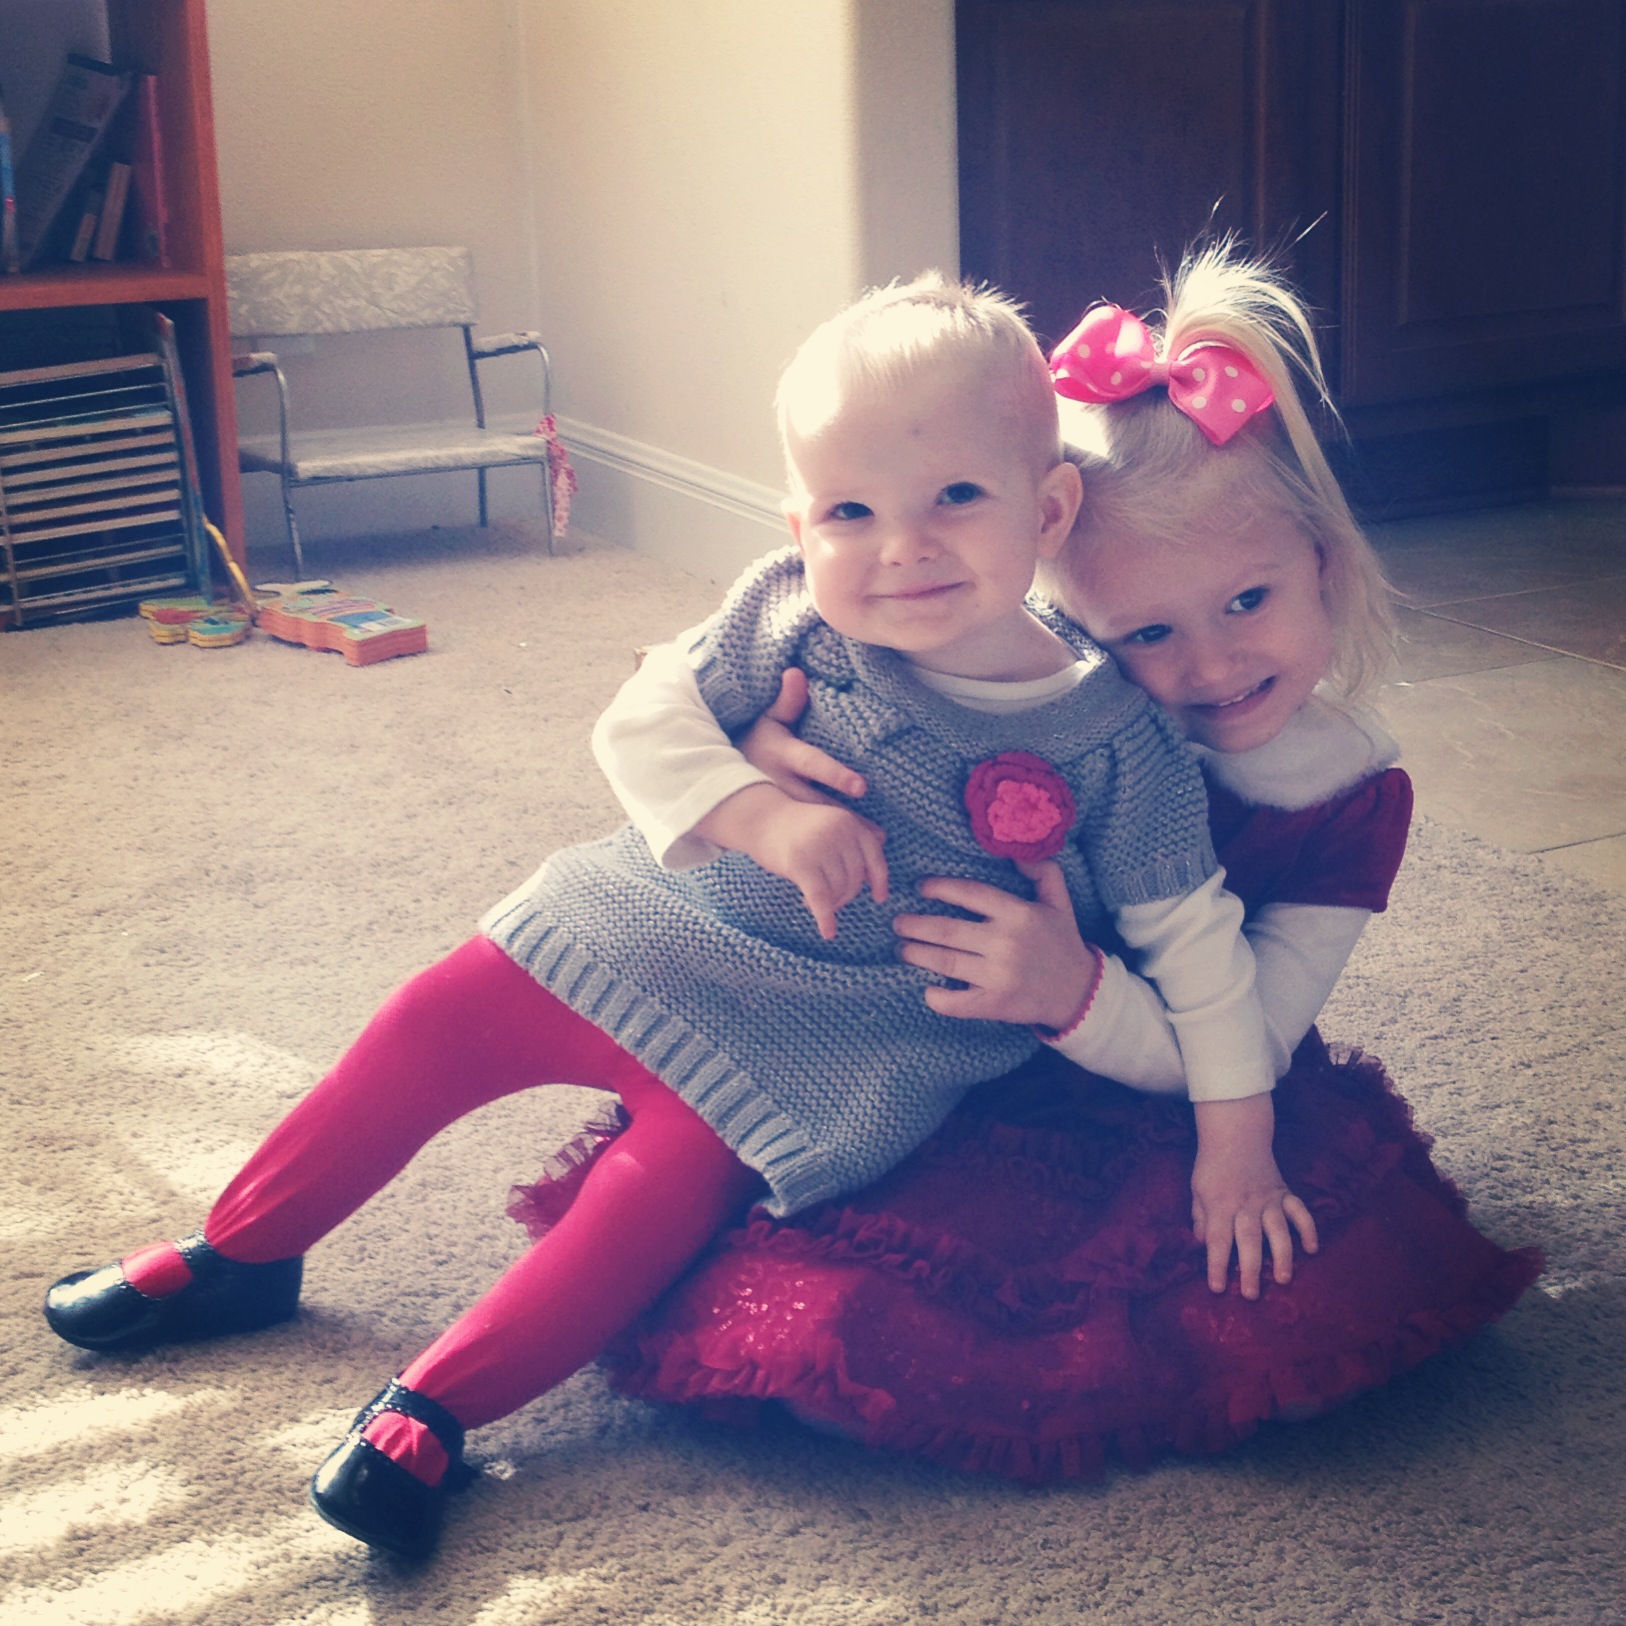
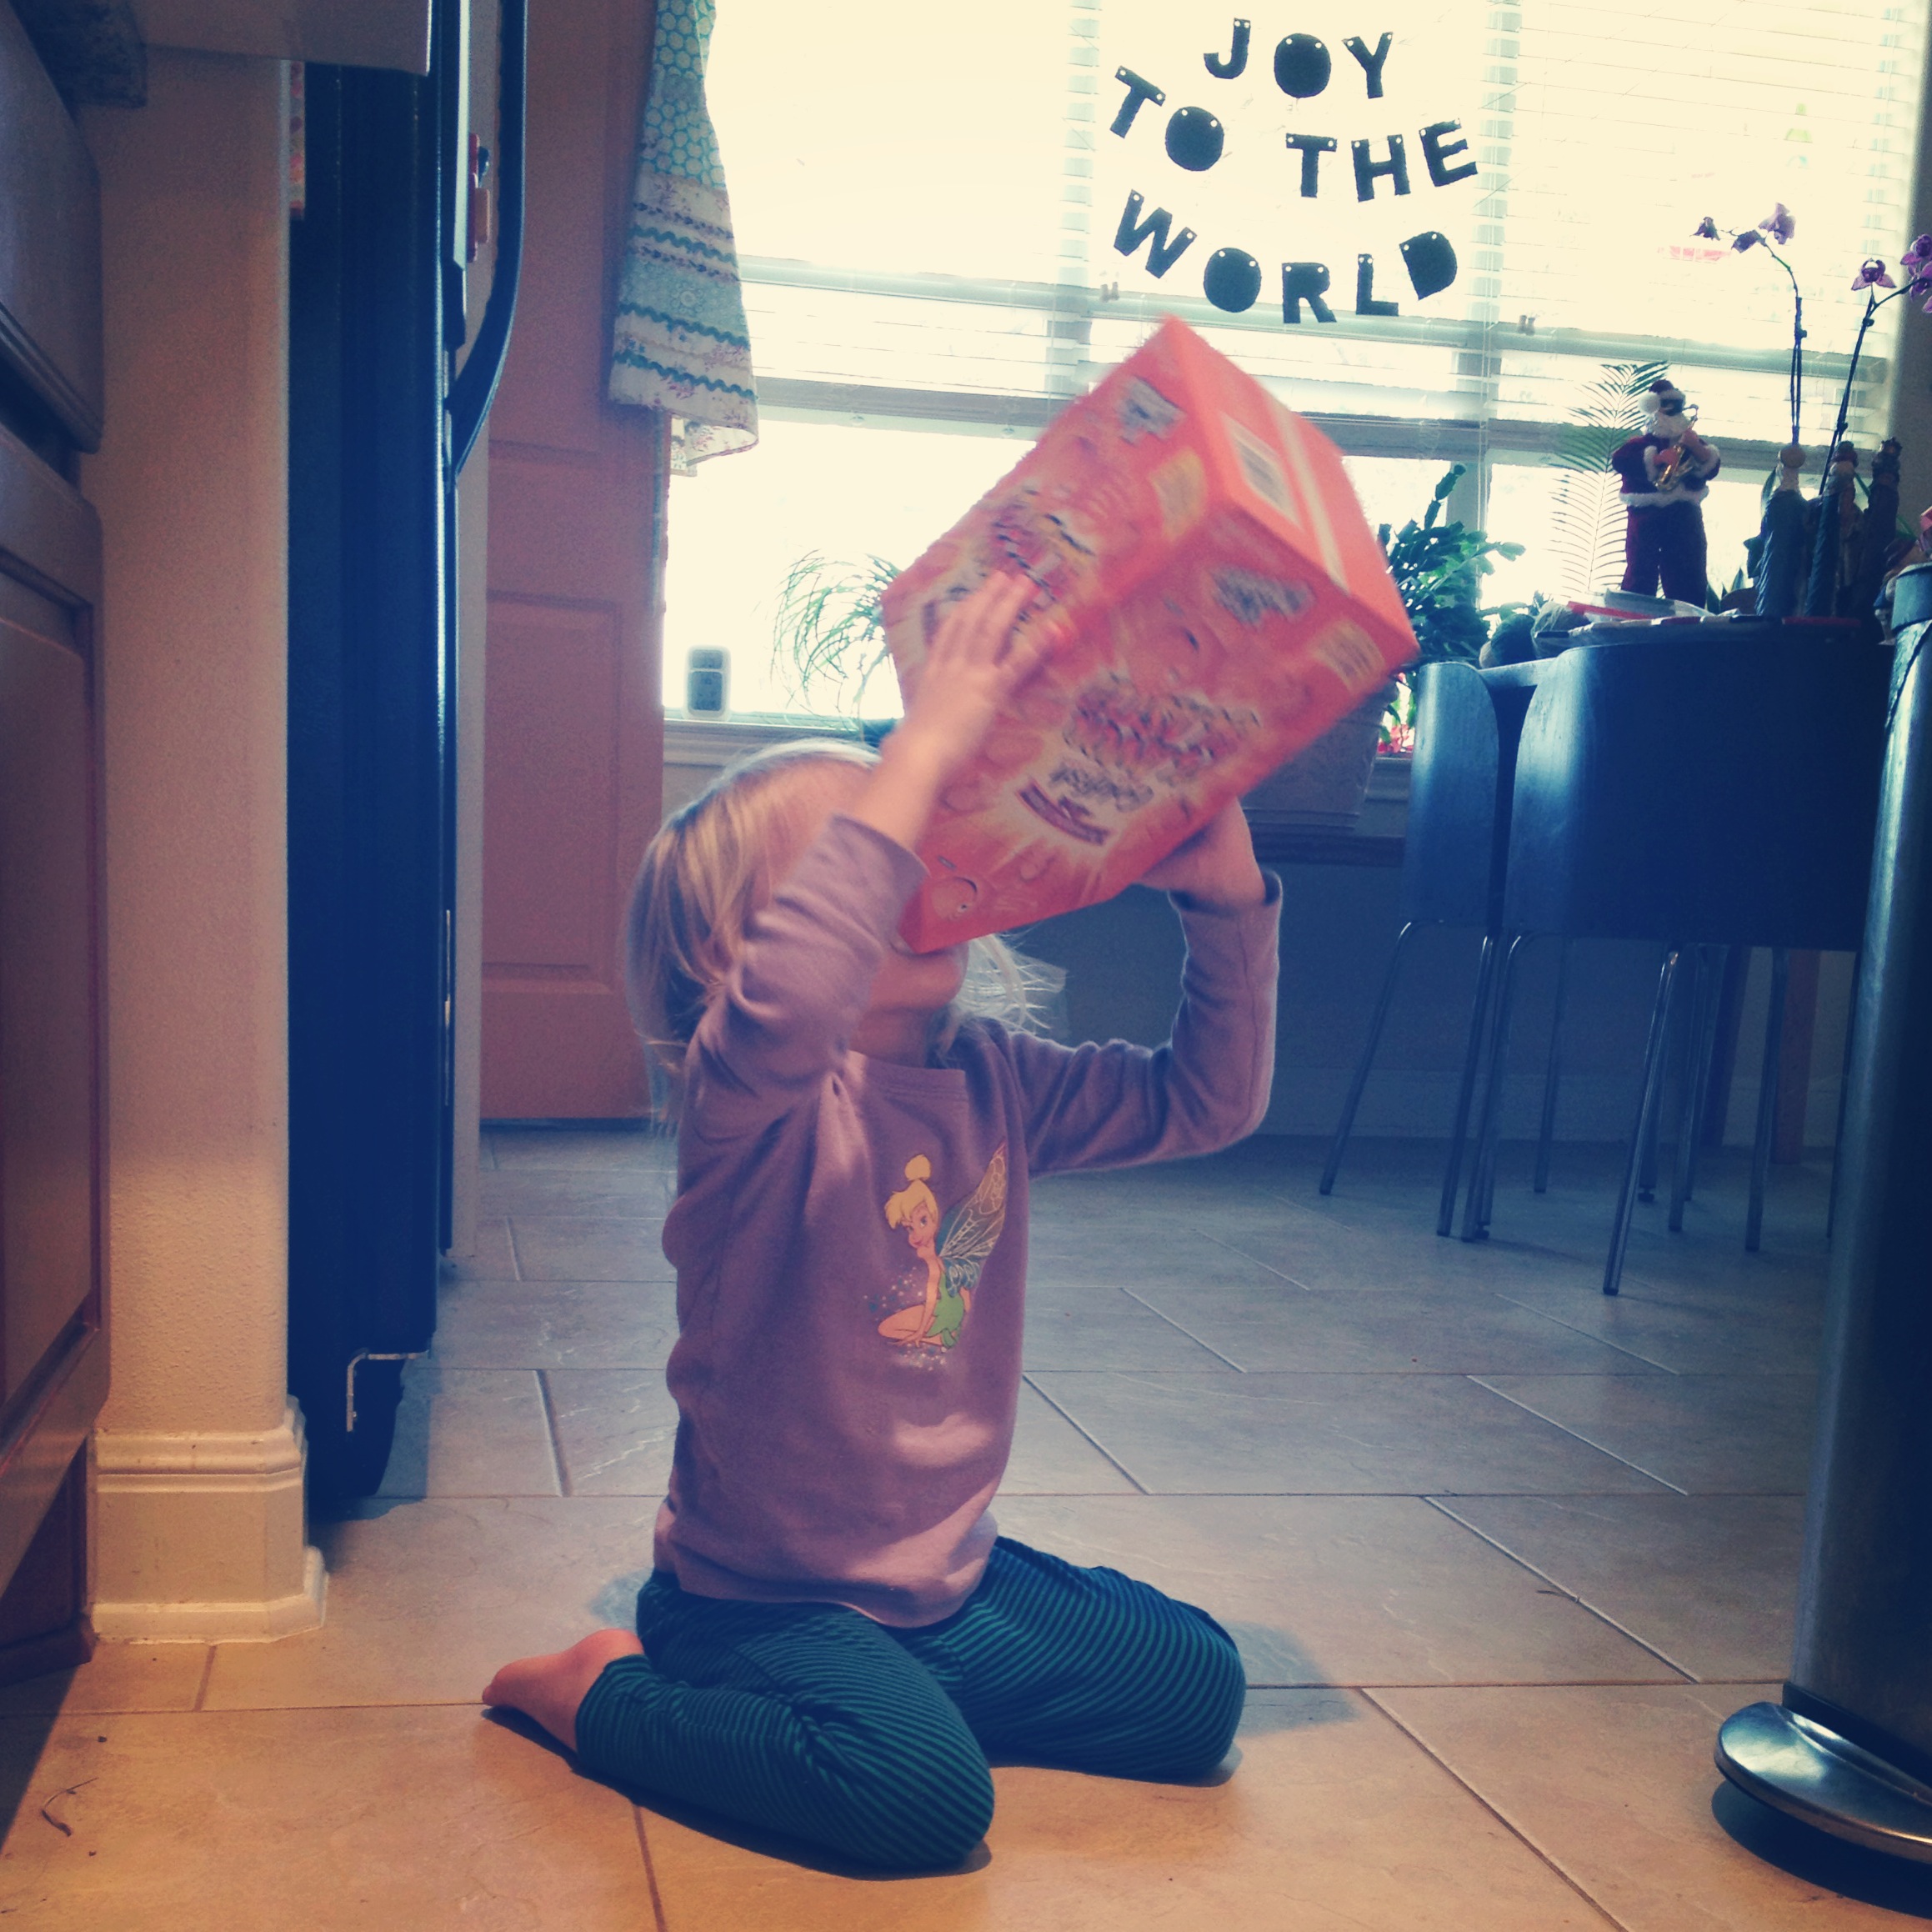
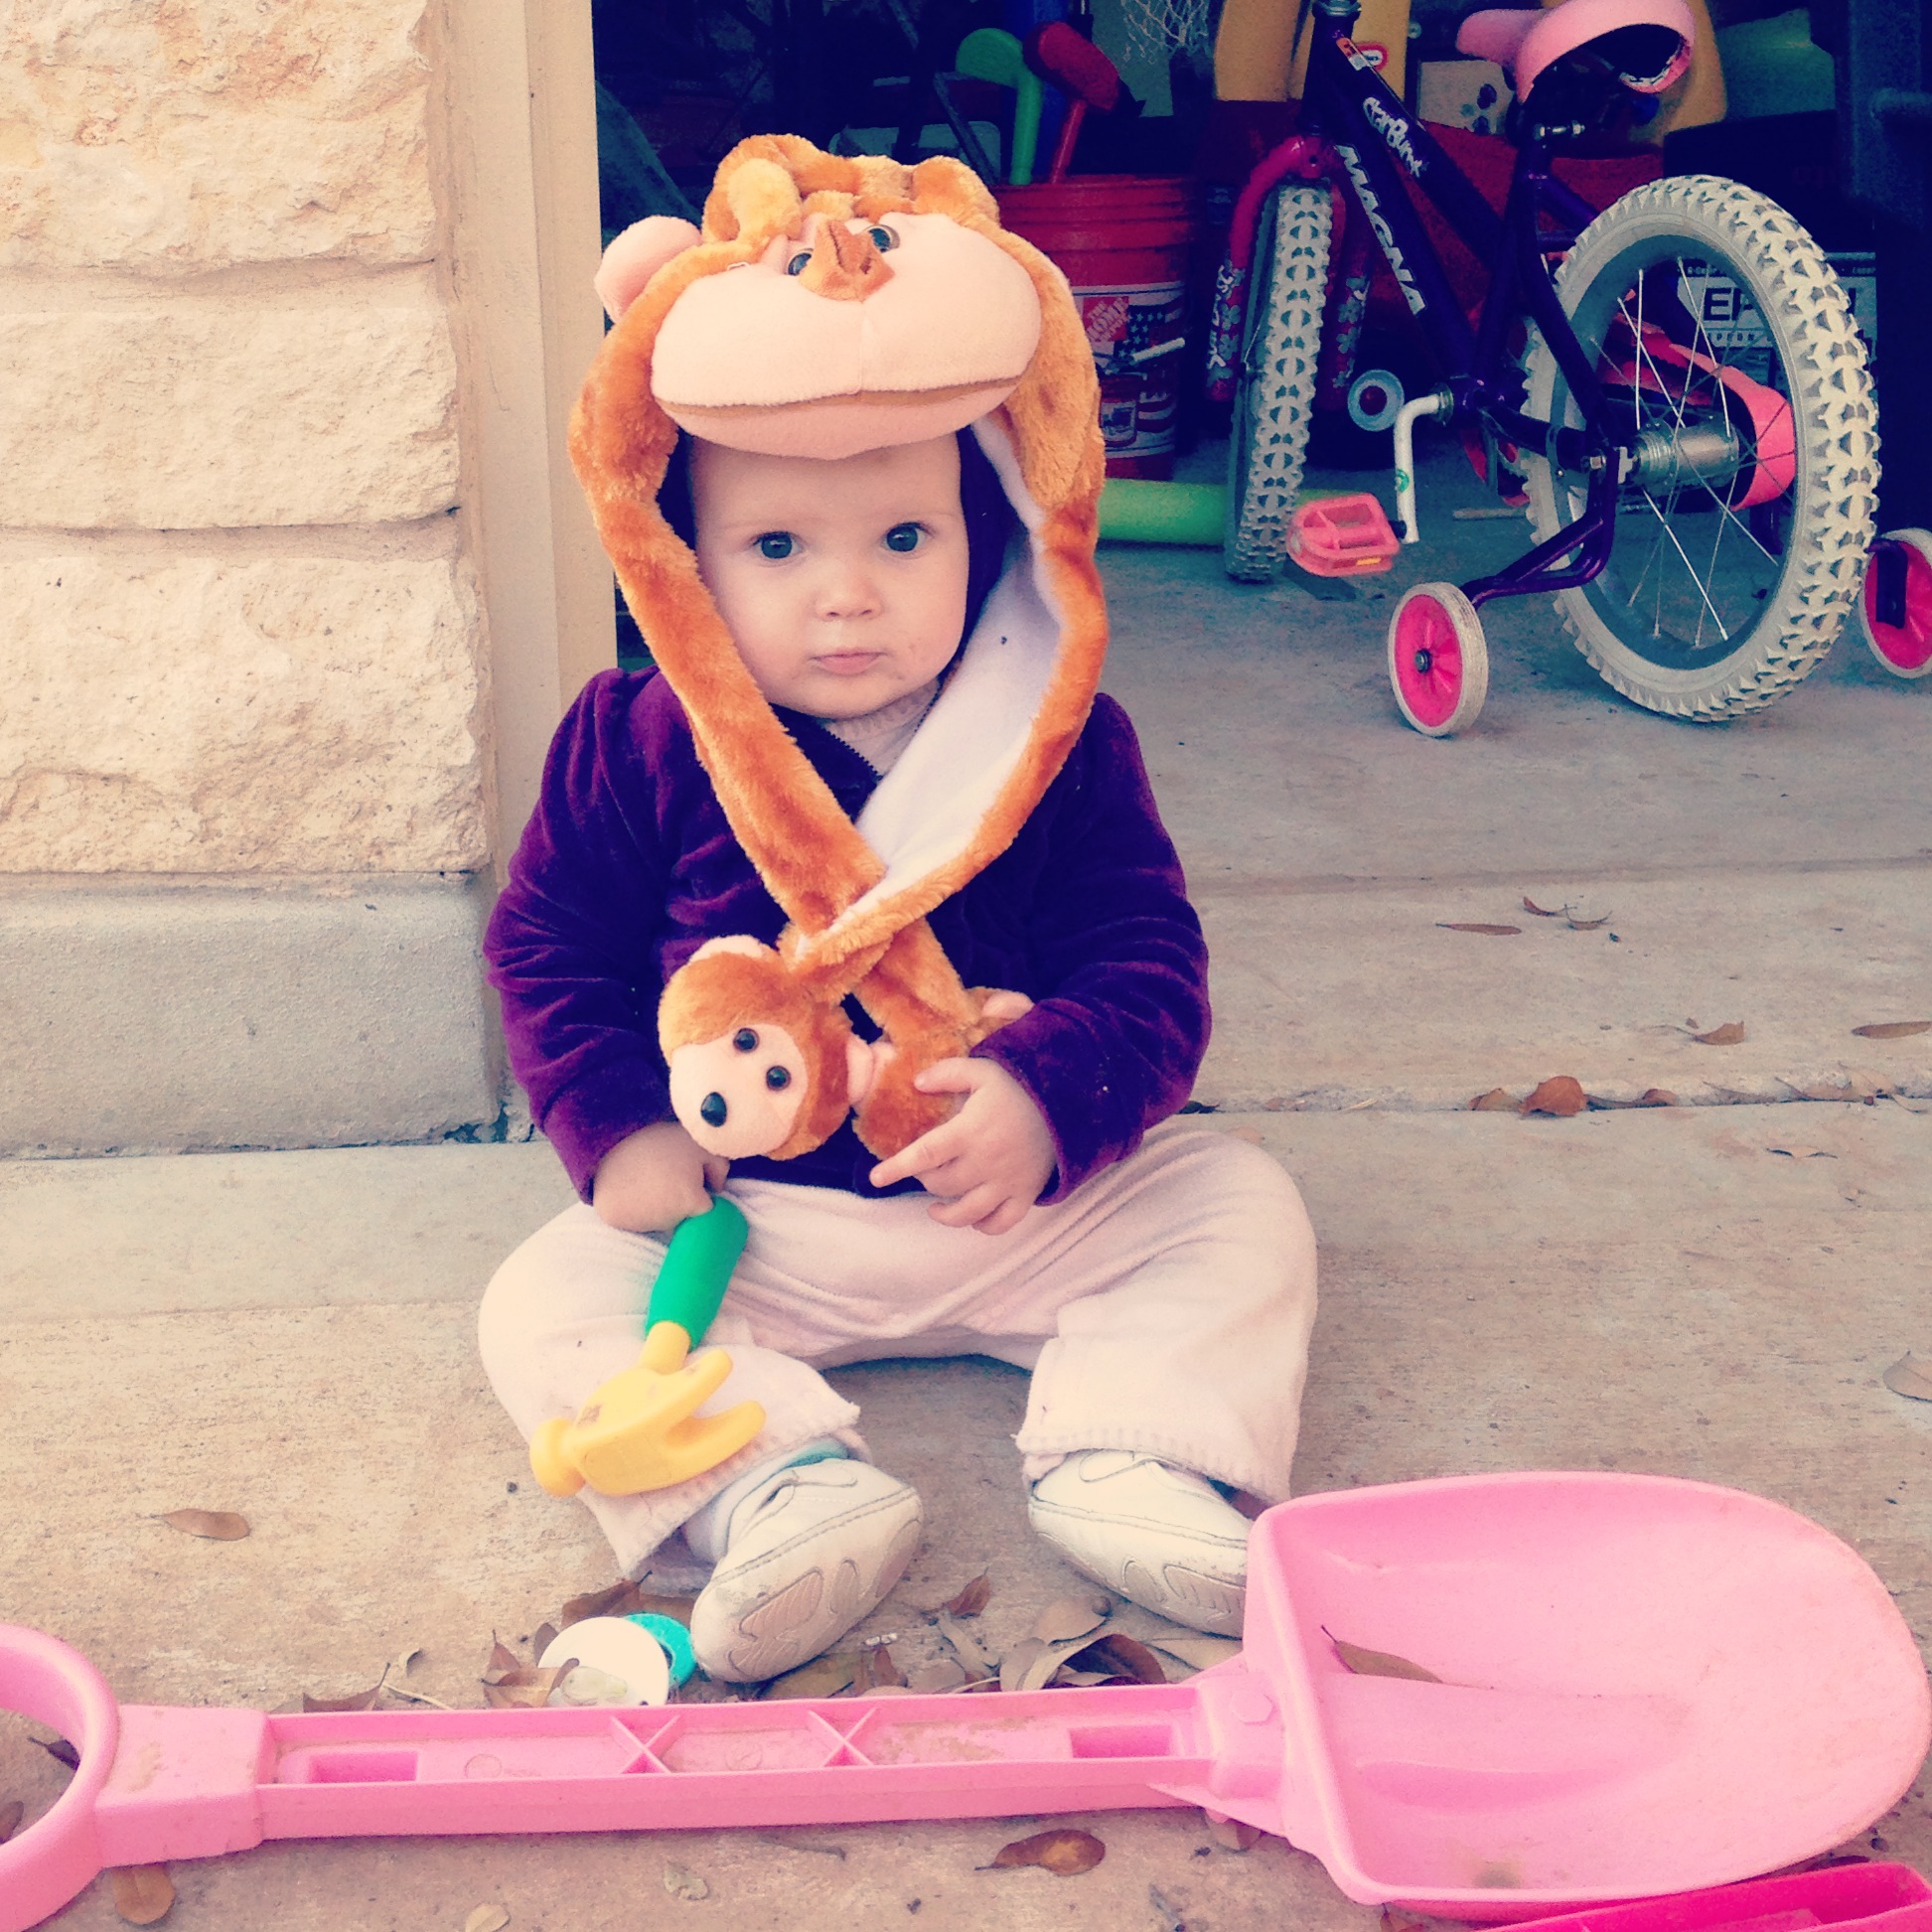
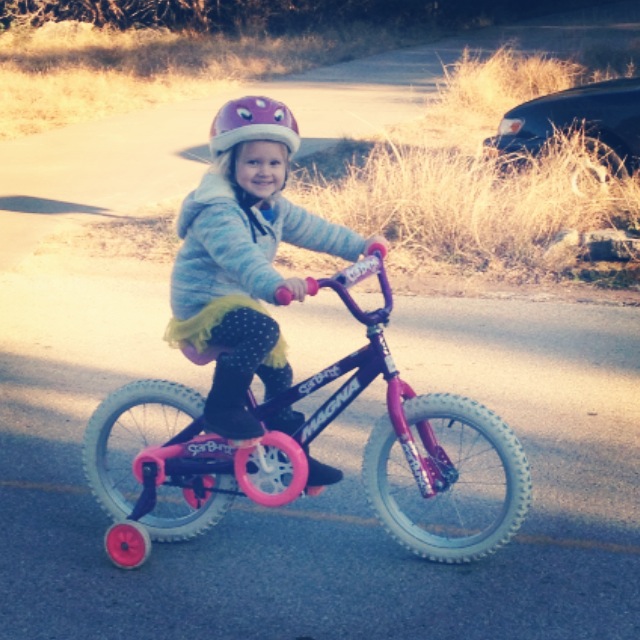
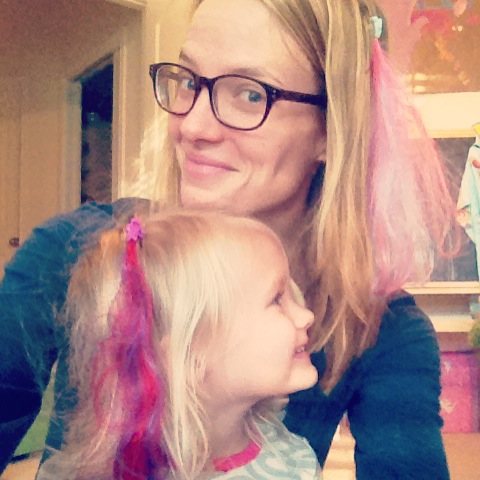
“A portrait of my children, once a week, every week in 2014.”
Penelope: This girl could paint all day if I let her….and I’m pretty sure by the end of the day her whole body would be covered. ;)
Ruby: Her hair is slowly but surely covering up her scar. :) (I’m surprised she didn’t wake up when I shot this photo. She’s the lightest sleeper EVER.)